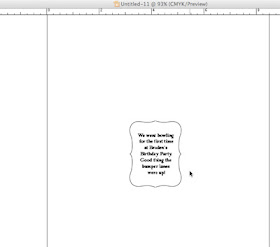
STEP 1 - Cut the diecut shape on the Cricut.
 STEP 2 - Create your type on your computer. In some programs you can even import an outline of the diecut shape so you can get the type to the right size.
STEP 3 - Printout the type and make sure it fits on the diecut shape.

STEP 4 - Positon the shape ontop of the printout. Tip: hold it up to a window or use a lightbox so you can see thru the diecut shape. Tape the diecut to the paper. I just one piece of tape to secure it.
 STEP 5 - Run the paper back thru the printer and print the type again.
 Final Product:
 Hope that works for you!

Well duh!! Why didn't I think of that...thanks for the tip!
ReplyDeleteYou are SOOOO SMART!!!! I would never have thought of that..LOL Thanks so much.. and keep those ideas coming.. The less I have to think for myself the less gray hairs I get..HAHAHA>>>
ReplyDeleteBrilliant! I've wished so many times that I knew how to do this. Now...I do! Thanks!
ReplyDelete