STEP 1 - Cut the front and back from your cereal boxes.
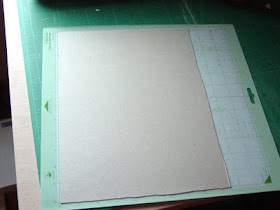
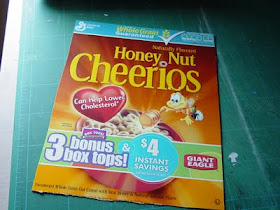 STEP 2 - Apply to mat so inside is facing out.
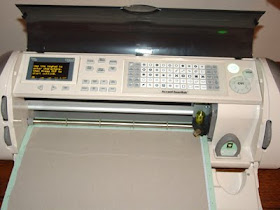
 STEP 3 - Load mat into Cricut.
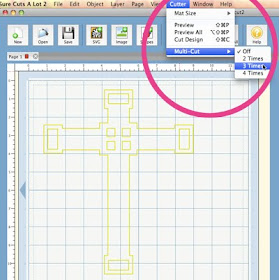
STEP 4 - Under "Cutter" menu choose "Multi-Cut" "3 Times". You'll have to experiment with this. If you have a new blade you may be able to get away with cutting 2X and some materials are thicker than others. For this cereal box I cut 3X, some others are a bit thinner and you can get away with 2X cut.
STEP 5 - Select "Cut".
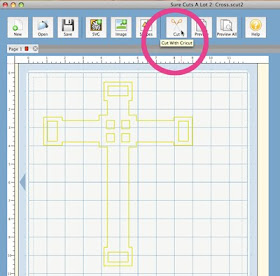
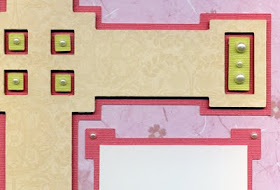
STEP 6 - Now you have a chipboard shape. Cut the same shape out of patterned paper. (Remember to turn off Multi-Cut). Adhere to chipboard and ink around the edges.
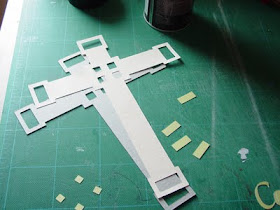
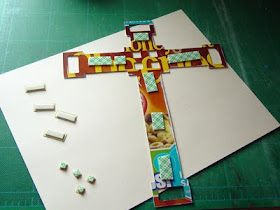
STEP 7 - Add some adhesives to the back to add dimension to your page. On this layout I added to the cross and the squares/rectangles.
STEP 8 - I assembled the rest of the layout and added some Gradient Pearls from Creative Charms.
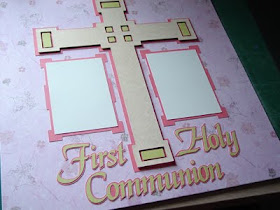
Please note: I would not recommend cutting small intricate shapes from chipboard. You will have to experiment with it. Give it a try!
If you'd like the SVGs for this project please see previous posting from 12/28.


Thanks Amy! I tried it with macaroni and cheese boxes it works great! Roni
ReplyDeleteOh my goodness! I never saw the multi-cut function in SCAL! Thanks so much and for everything else you post!
ReplyDeleteI love this thank you for sharing!!
ReplyDelete