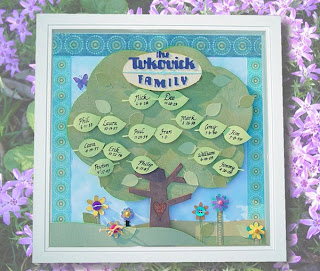
I created this family tree for an Anniversary Gift. It would also make a great gift for Grandparents or Parents - for those hard to buy for people that have everything!
Here are detailed instructions on how to make this collage:
Getting Started - There are two options for your final product. Option 1 is inserting the family tree into your scrap book. When applying pieces to your layout you can add some dimension using adhesive squares. Option 2 is purchasing a shadowbox frame (JoAnn’s has these) and inserting your final piece into it. If you plan to insert into a frame you can add dimension by stacking adhesive squares.
Please note: If using a shadowbox frame you will need to bring your raised pieces about 1/4'' in from the edges (see photo) to accommodate the lip on the frame. For this project this will be the trunk and front grass piece.
 STEP 1
 - Mount the cloud paper on card stock supplied with shadowbox frame. Apply side and top strips.
 STEP 2
 - Apply bottom layers of grass.
 STEP 3
 - Apply tree. Please note: feel free to add some adhesive squares if you would like to bump this up.
 STEP 4
 - Apply trunk. Once again add some adhesive squares if you would like to bump this up.
 STEP 5
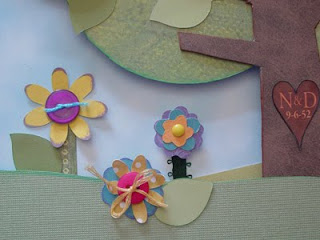
 - Assemble and apply the flowers. Tip: Try inking the edges.
 STEP 6
 - Apply front grass piece. On my sample I applied adhesive squares to add dimension.
 STEP 7
 - Add the butterfly. Tip: add some antennae with a fine point pen.
Add the oval for the family name. You will need to add the name using letters cut from a die cut machine or stick on letters. Or you can add "Our Family" title.
 STEP 8
 - Add names and birth dates and attach large leaves. You can do just parents or parents & grandparents. Sample shows both parents and grandparents. I cut these leaves slightly larger than the other leaves.
 STEP 9
 - Add names and birth dates to medium leaves. I overlap the couples and put their children under them. Tip: You can add square adhesives to all leaves or just parents/grandparents.
 Additional Notes:
If this is for an anniversary I add a heart with wedding date to the tree trunk. I print this out on my color printer, trim and mount it on the trunk. See photo. You can use inks to color your edges of your leaves and flowers if you like. Put some extra leaves in a ziploc and attach to the back of your layout or frame for any additions to the family!
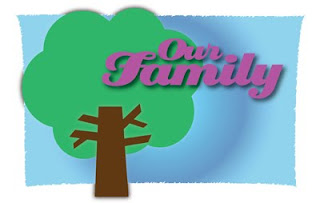
For the tree, trunk and "Our Family" SVGs click here to
DOWNLOAD.
(The leaves were from Accent Essentials cartridge).


